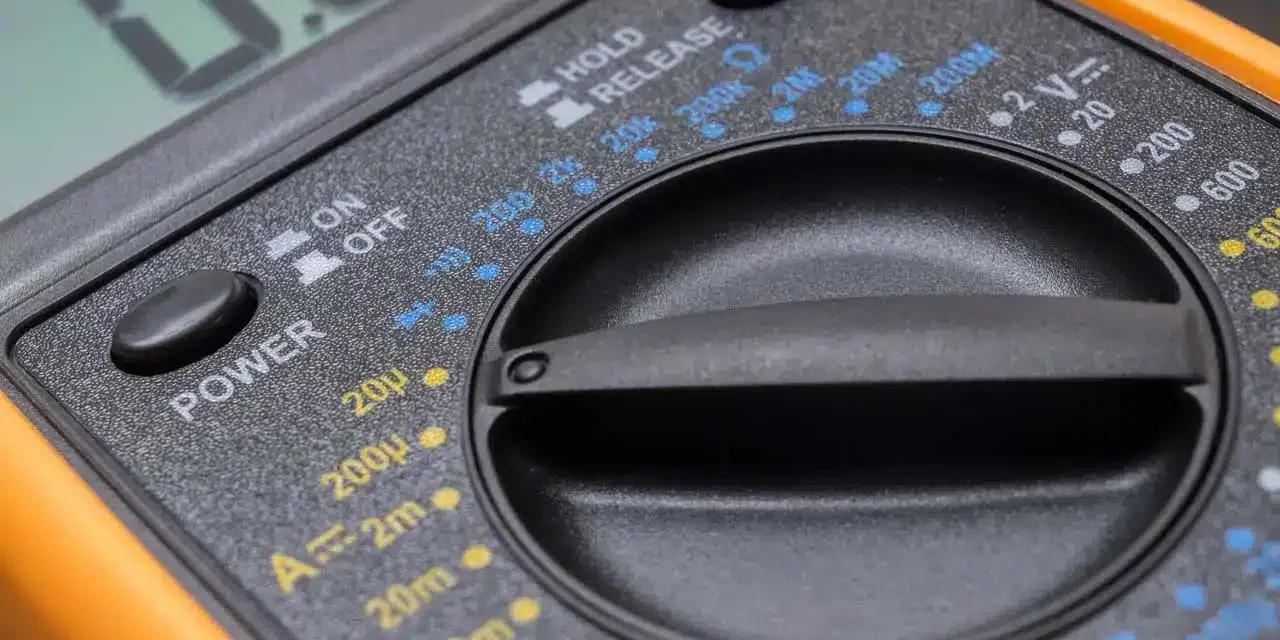
Did you know that you can avoid calling an electrical contractor by troubleshooting simple circuit breaker problems on your own? In many cases, if you know how to test the home circuit breaker with a digital multimeter, you can solve the problem on your own, even without being a qualified electrician.
It is important to test the circuit breaker properly, because this is one of the most important safety mechanisms of your home wiring system. Whenever there is a surcharge on the wire, the breaker will trip and stop the supply of electricity to a specific plug. This can avoid the malfunction of expensive home appliances and electronics or even an electrical fire.

How Can You Use a Digital Multimeter to Troubleshoot Circuit Breaker Problems?
The digital multimeter is a very helpful device that any homeowner should have. In this article, we will show you how to test a circuit breaker using this digital device. First of all, let us look at the different ways in which you can use the digital multimeter:
For Voltage Testing
You use the digital multimeter reading to test the voltage of the circuit breaker directly in the panel. This specific type of test of the circuit breaker must be done carefully, because you are working with live electricity. If the voltage in the power circuit breaker is zero, or below the regular level, then the circuit breaker panel may be faulty. In this case, you will have to call a licensed electrician to repair or replace it.
For Resistance Testing
You can also troubleshoot the power circuit breaker using a digital multimeter after you switch off electricity. The resistance testing is recommended before you install a replacement fuse in the panel.
How to Test a Circuit Breaker with the Voltage Tester
Now let us show you the step by step process that will allow you to test the circuit breaker with multimeter in your home and find the problem.
Open the Circuit Breaker
Use a flathead screwdriver to remove the cover of the power circuit breaker box. At this step, you should ask someone to help you hold the cover in place until the last screw is removed. You should avoid dropping the cover and cracking it.
Set the Multimeter to Voltage
Move the digital multimeter dial to AC voltage. Some devices require you to set the voltage before you test the fuse with the multimeter – in this case, set it to 120V. Next, put the black test lead in the common socket terminal. The red test lead goes into the voltage socket terminal.
Read the Meter
If you set everything up correctly, you can now test the home circuit breaker. For a single pole circuit breaker, the black test lead should go in the ground of the breaker panel and the red test lead should be placed in the hot wire. The digital multimeter reading should be around 120V. If it is significantly below this value or zero, then you should call an electrician instead of trying to troubleshoot it by yourself.
When in Doubt, Call Specialists to Inspect Your Home Circuit Breaker
Whether you need to replace an old switch box with a modern power circuit breaker panel or to repair a malfunction, a licensed electrician is the only person who should perform these tasks. A lot of things can go wrong if you try DIY work on your home wiring system and they can lead to expensive repairs in the future, or even tragedies caused by electric fires.
Even if you learn how to test a circuit breaker with a digital multimeter, it does not mean that you have the skills and experience to repair a serious electrical problem or replace a fuse in the home circuit breaker panel. An experienced electrician will do the job in a short time and you have the guarantee that your home electrical wiring system is safe to use.

Call Us to Fix Any Power Circuit Breaker Problem!
McCarrick Electric is an experienced and fully licensed electrical contractor. We are a family owned and operated company, always ready to help you with any home circuit breaker issues.
We are based in Commerce City, CO, but we also serve clients living in:
- Aurora
- Denver
- Henderson
- Brighton
- Thornton
- Westminster
- Highlands Ranch
- Littleton
- Parker
Call us now: 720-434-3960!


